不从零开始搭建博客
不从零开始搭建自己的博客
重点是本地博客与GitHub进行连接,主要逻辑是cloneGitHub仓库中的博客源码,然后进行自己的配置,并且明白本地书写博客与发布博客的步骤,最后执行脚本发布即可
博客搭建步骤
本地搭建
前面需要安装Git,nodejs
并且node配置node_global以及node_cache文件夹时,不可以将这两个文件夹存放在nodejs的安装目录下
安装 hugo
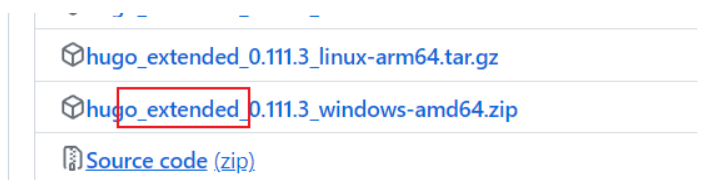
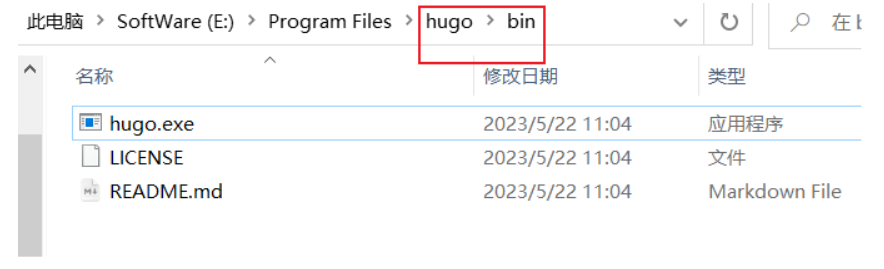
注意需要下载的是extended版本,下载完成之后将压缩包解压到含有bin目录的空文件夹下
安装 go
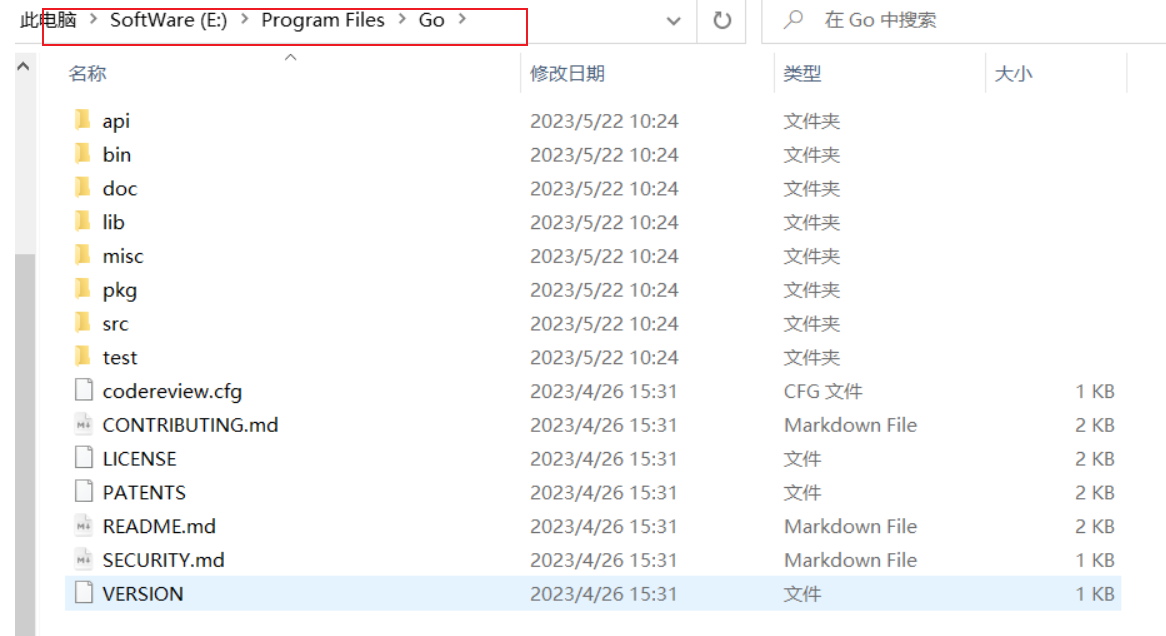
需要配置环境变量
此时基本环境安装完毕,进入hugo博客项目的创建
创建博客项目
准备
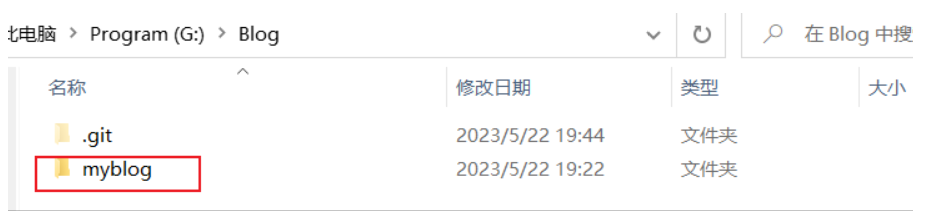
选择一个空文件夹存放博客,我选择Bolg,此时Bolg文件夹下为空

创建 存放博客的仓库
后面的GitHub Pages不用管,只需要创建空仓库,此时会得到一个仓库地址,类似于:
| |
准备工作到此完成
clone博客文件
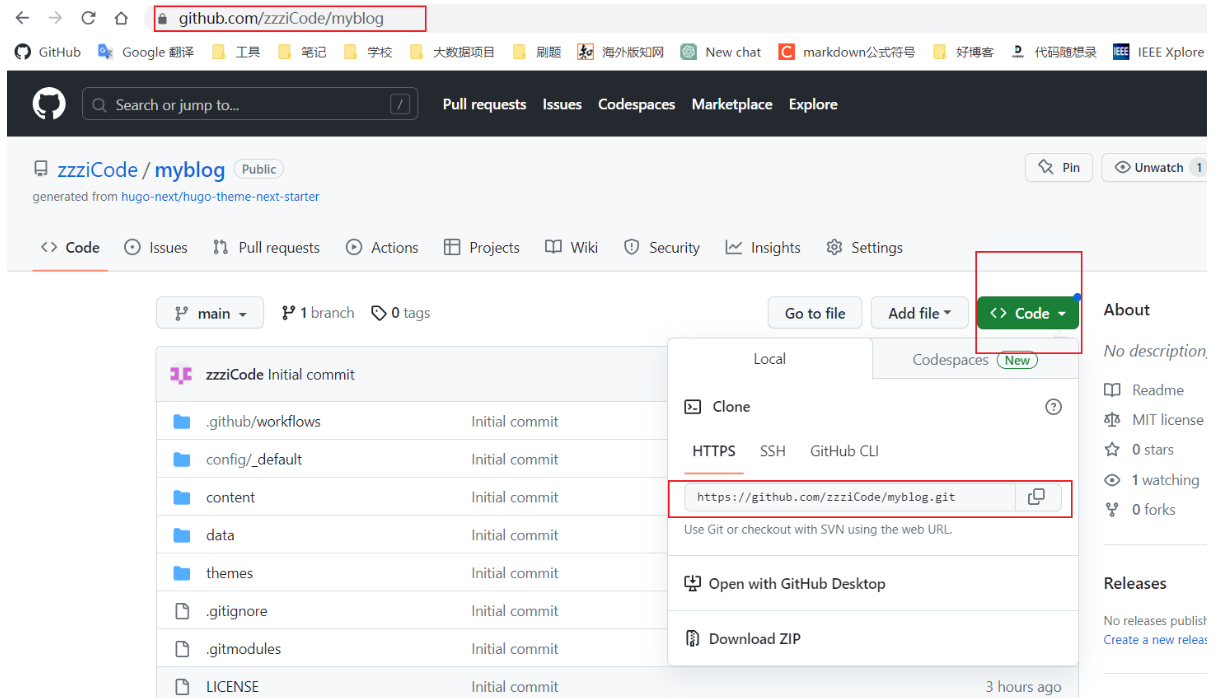
进入
GitHub项目
,点击Code,复制地址
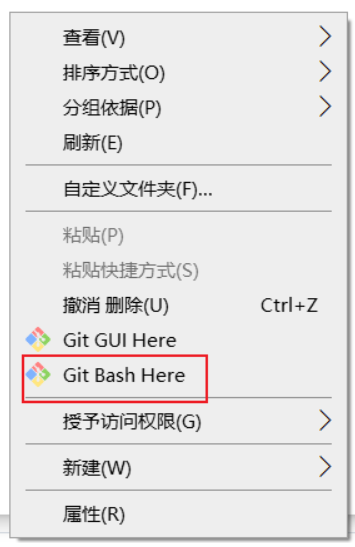
在Bolg文件夹下右键,选择Git Bash Here,出现Git命令窗口
之后输入:
| |
博客项目clone完毕
出现错误
,如果是第一次连接仓库,需要在Git Bash窗口中执行以下命令:
| |
此时Blog文件夹下的.git\config会出现变化:
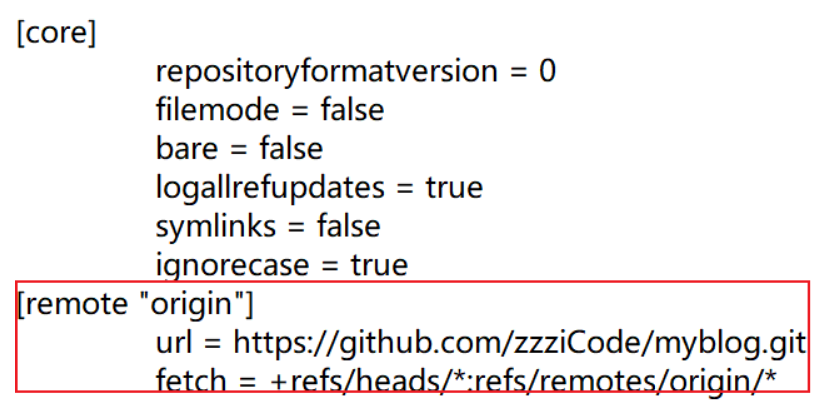
圈住的信息为新增的信息,原来没有,之后在进行clone
更新主题
cd命令进入myblog文件夹下

执行命令:
| |
启动本地博客预览
所有的步骤准备完成之后,双击myblog目录下的startup.sh文件,出现如下信息说明博客启动成功:
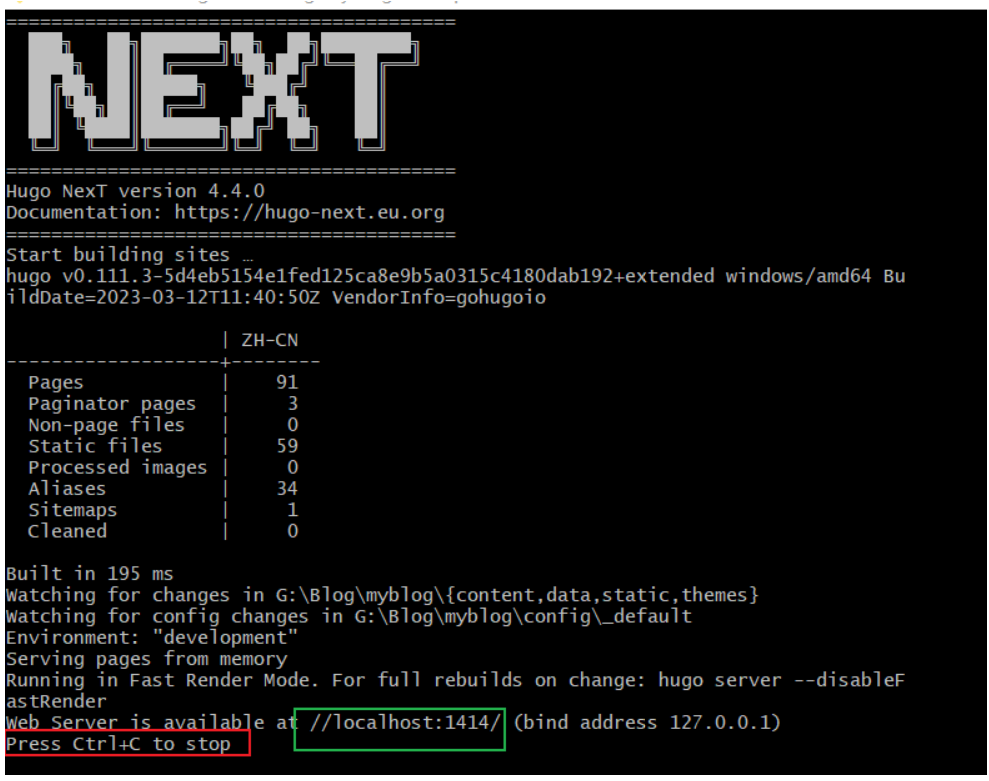
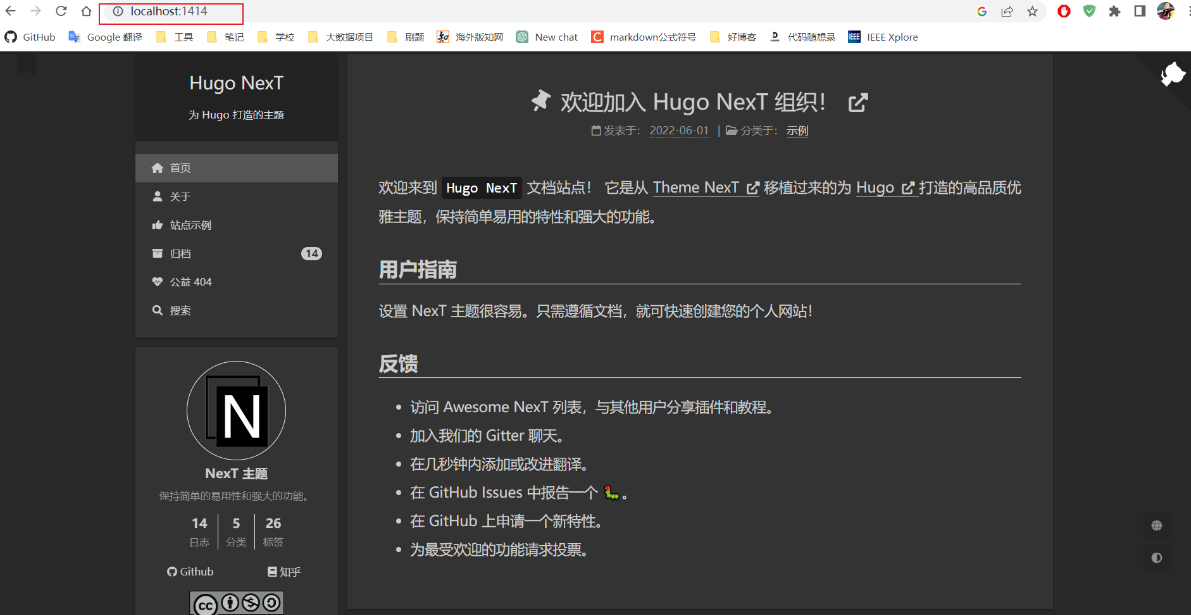
之后输入给定的localhost:1414地址访问博客,效果如下:
书写博客
创建文件
在博客根目录下,即myblog目录下打开Git Bash,输入:
| |
此时提示test1的创建成功,且提示存放路径

编辑Front Matter
找到此文件,使用typora打开编辑,首先编辑front matter
文件被存放在:G:\Blog\myblog\content\post\test1.md,打开之后为:

完成代码为:
| |
根据自己的需要打开关闭
文件构成
md文件主要由三部分构成
第一部分为front matter,用来渲染静态网页文件使用
第二部分为front matter与
<!--more-->标签之间的部分,成为博客概览,编写的内容成为博客一级页面:

第三部分为正文,点击阅读全文显示正文
编译博客
书写完成之后,编译书写的md文档,在本地进行修改保存之后,可以在网页中实时预览
| |
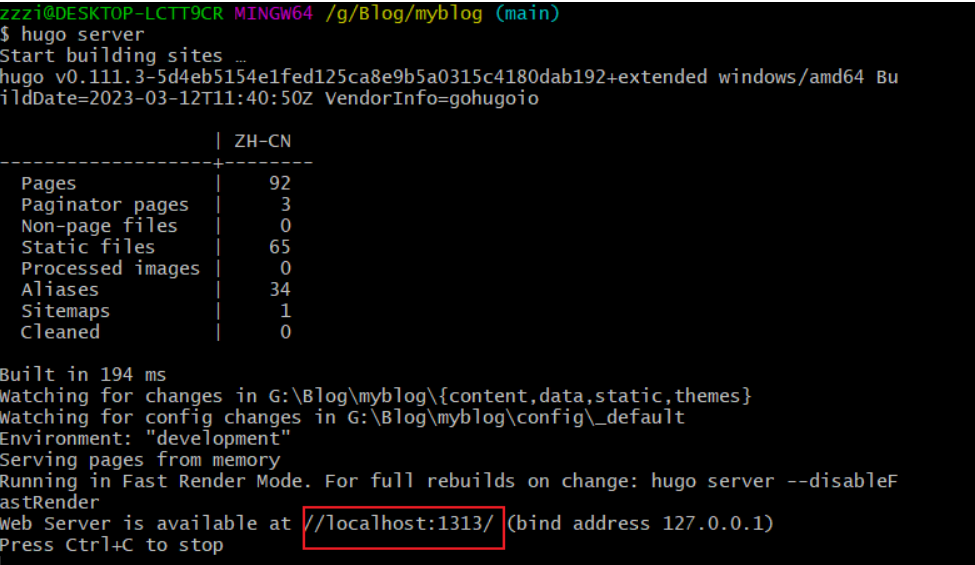
出现地址即可以使用地址访问,typora中修改,网页实时更新
发布博客
可以将书写的博客发布到GitHub中进行托管
托管之前确保GitHub博客仓库已经创建,并且配置完成
生成静态网页
首先在根目录下执行:hugo,让本地编写的博客生成静态网页文件
之后cd到public文件夹下

依次执行以下命令:
| |
add && commit

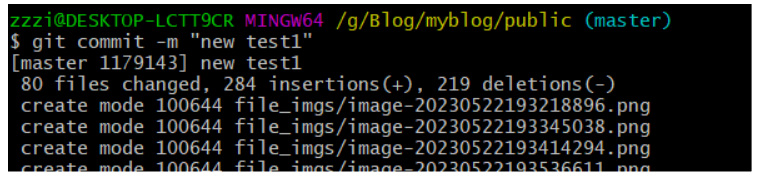
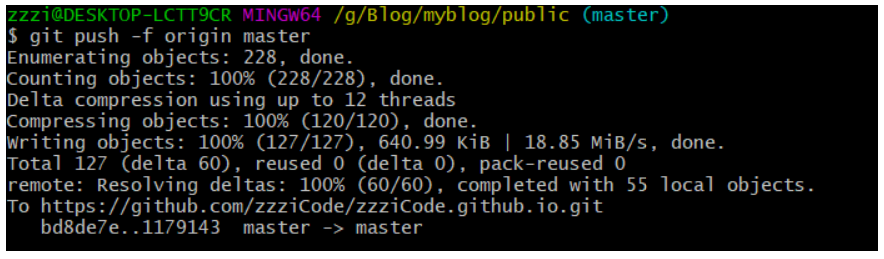
push
push到仓库中,可能出现Time out的问题, 解决办法点这里
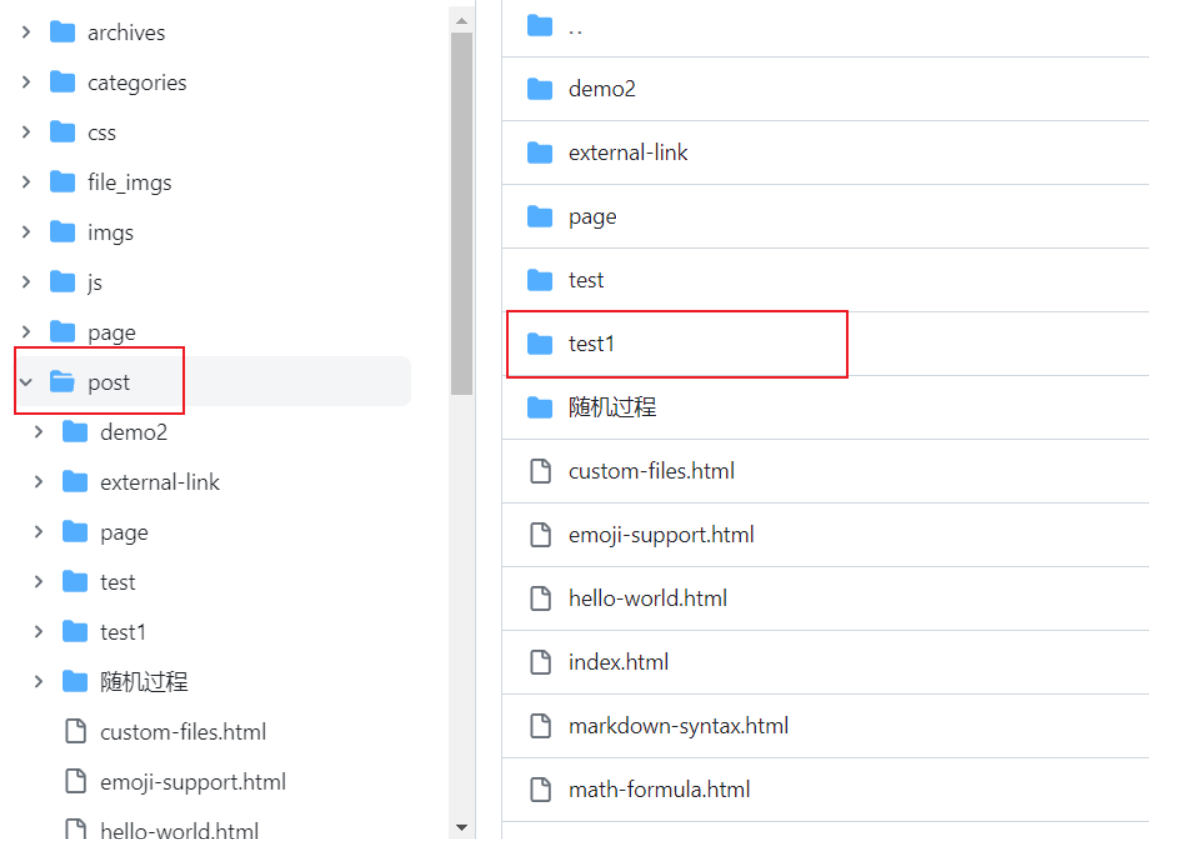
仓库中的对应文件夹下出现刚才新建的文件
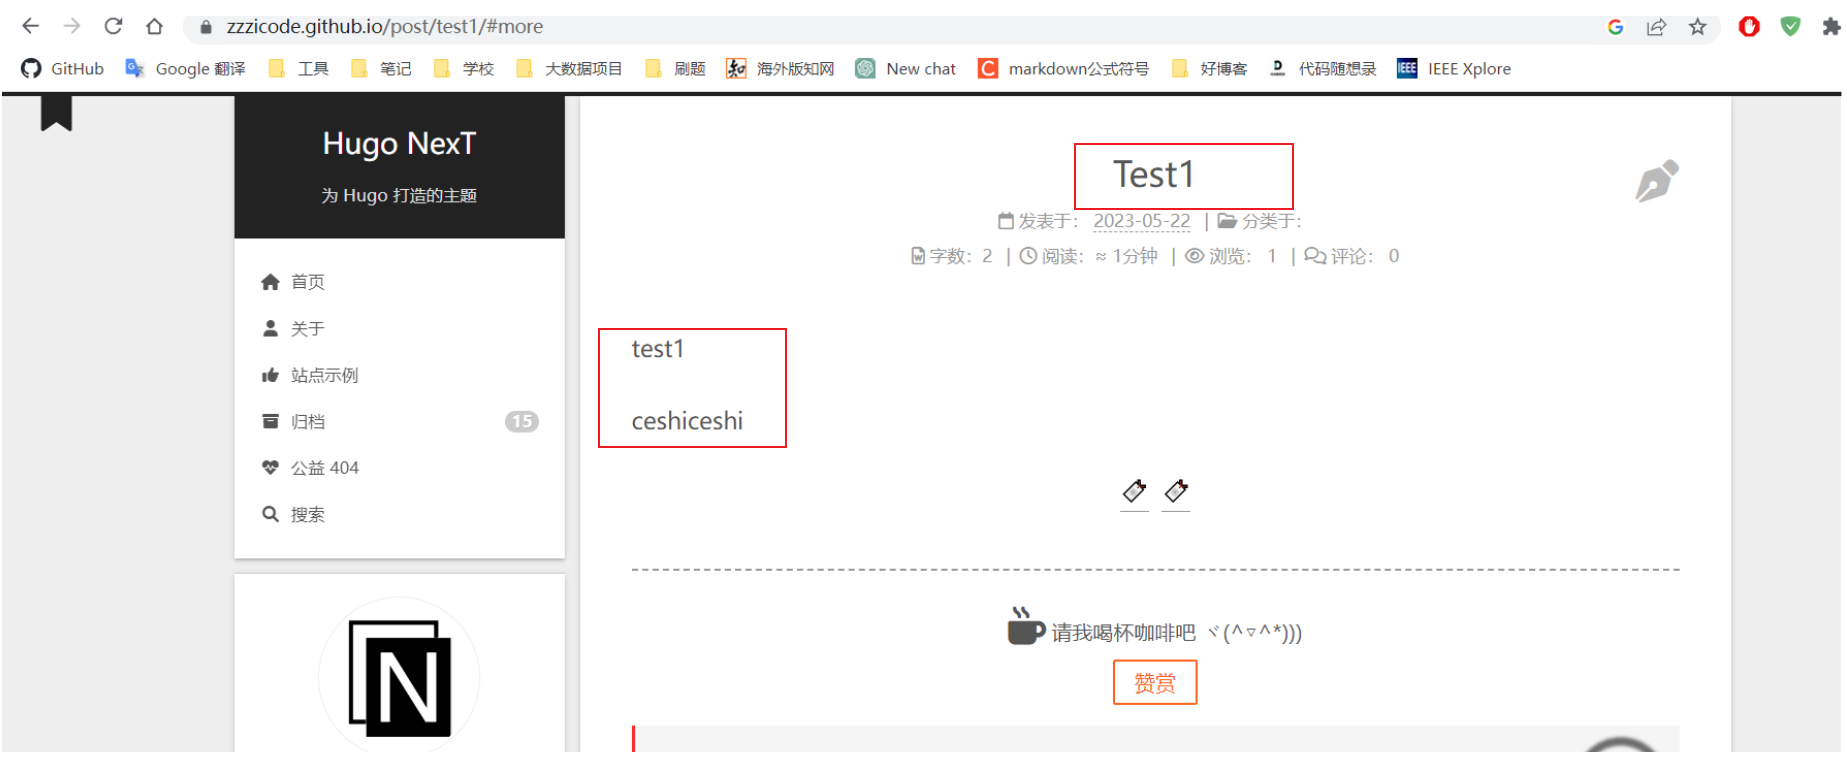
访问
总结
配置好底层需要的环境之后,直接进入仓库
clone项目,colne之前需要连接上GitHub,之后更新项目即可启动本地博客发布博客时要进入
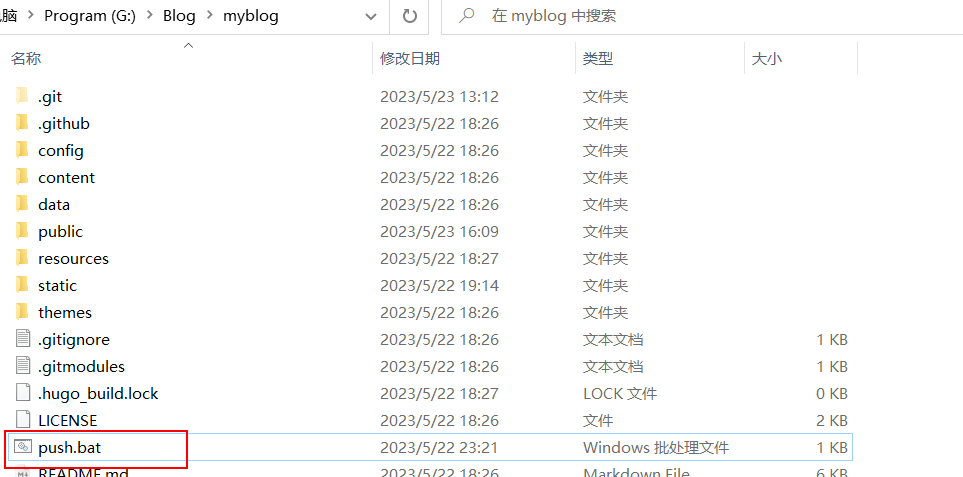
public文件夹中执行一系列git命令,相当繁琐,并且有时还会出现Time Out错误,为了解决以上问题,提供一个发布脚本:
1 2 3 4 5 6 7 8 9 10 11 12hugo cd public git config --global http.proxy http://127.0.0.1:7890 git config --global https.proxy https://127.0.0.1:7890 git config --global http.proxy git status git add . git commit -m "update %date%,%time%" git push -f origin master git config --global --unset http.proxy echo success exitmyblog 和 public 文件夹下连接的仓库地址不一样,注意查看
config配置文件,myblog连接的仓库是为了更新博客的配置文件,public连接的仓库是为了将博客部署到浏览器编写博客时
Front Matter一定要填完整,否则博客的搜索功能会失效